家の PC にリモートデスクトップでアクセスしたくなったので環境構築したお話。
Chrome の Remote Desktop 機能使えば簡単にできるのかと思ったけれども Android から接続した場合に Ctrl キーなどを入力する方法がなかったのでしかたなく VPN サーバーをセットアップすることにしました。サーバーとなるのは以前の記事にもした「kano を DietPi でサーバーにした」ラズパイです。
DietPi に PiVPN をインストールする
PiVPN (Simplest OpenVPN setup and configuration, designed for Raspberry Pi.) というものを見つけたのでこれを使います。
とは言っても、DietPi 使いこなしてないので作法を知らないのですけど…
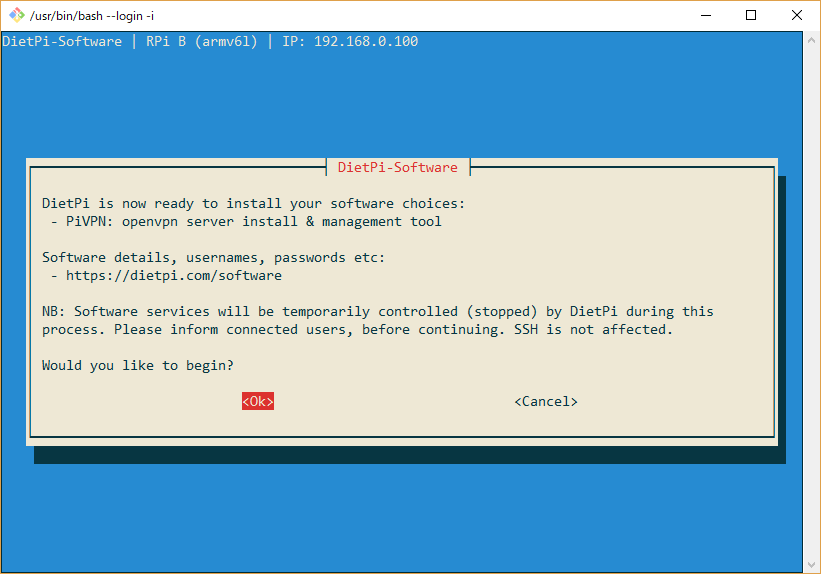
DietPi はログインすると次のような表示となります。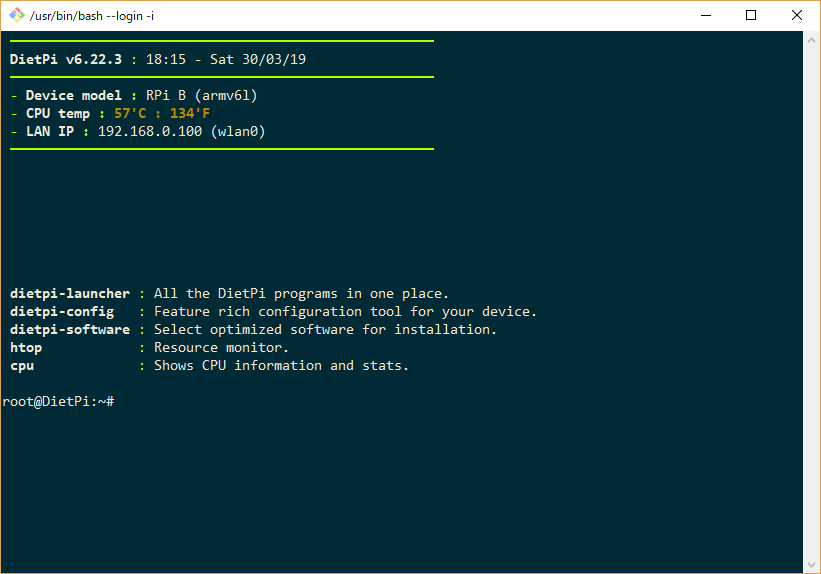
なんとなく dietpi-software というやつを使えば良さそうです。実行してみましょう。
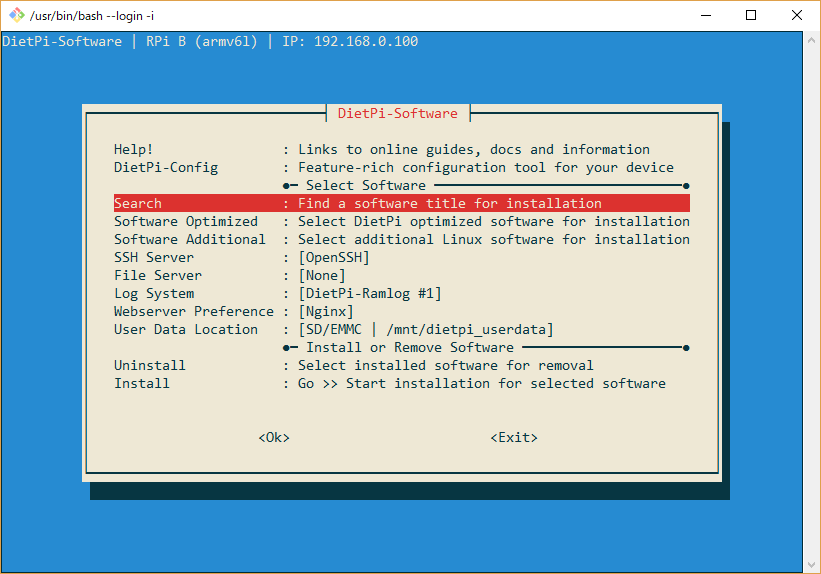
Search で検索します。

検索ワードは vpn で。
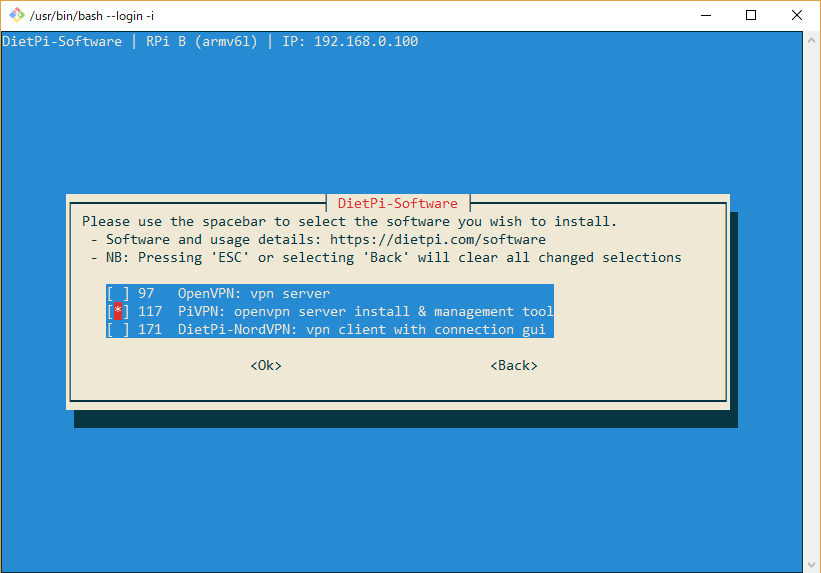
PiVPN があったので選択して Ok で戻ります。
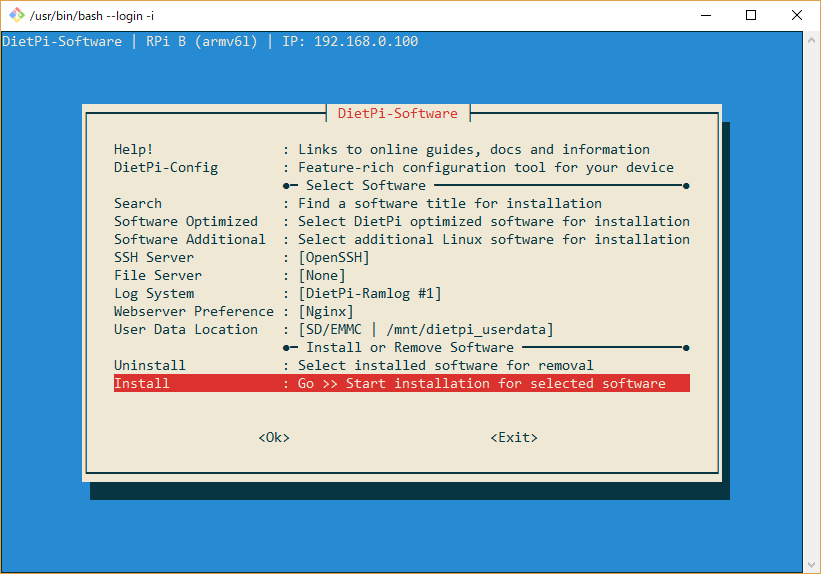
Install でさっき選択した PiVPN をインストールします。
インストール中にサービスが止まったりするよと注意書き
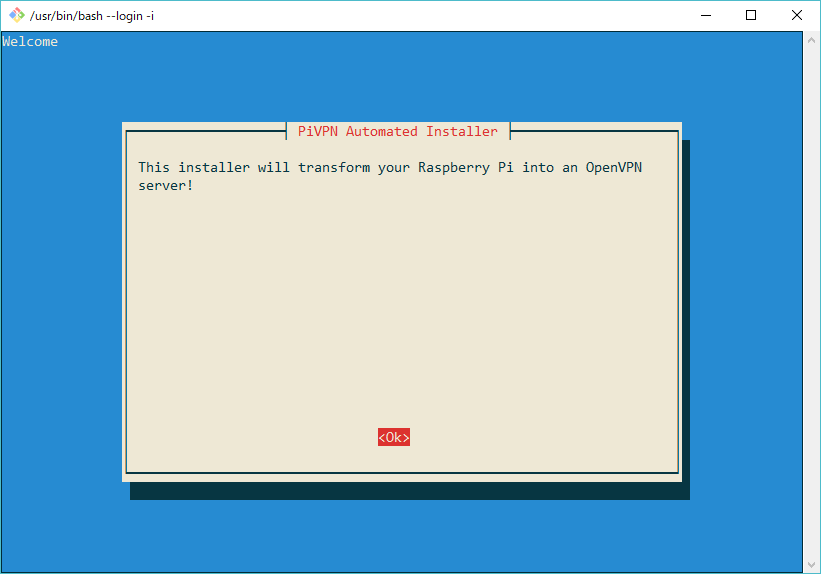
OpenVPN もインストールするよ。
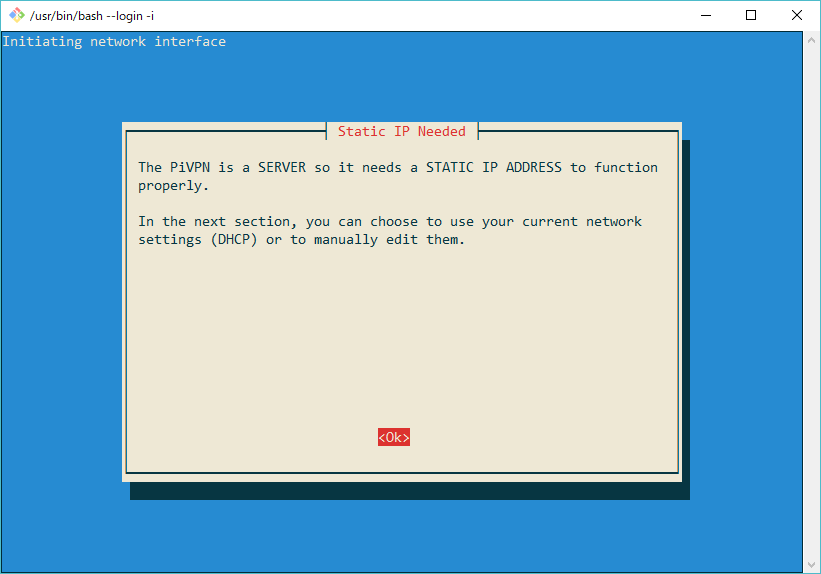
サーバーだからIPアドレスを固定する必要があるよ。
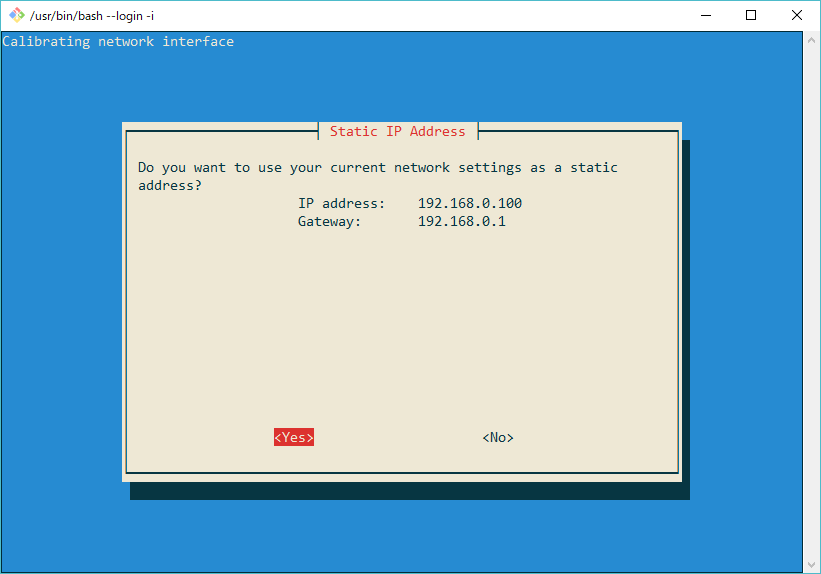
今のアドレスで固定しちゃってよいですか?と、DHCP サーバーで予約アドレスにしてあるので Ok
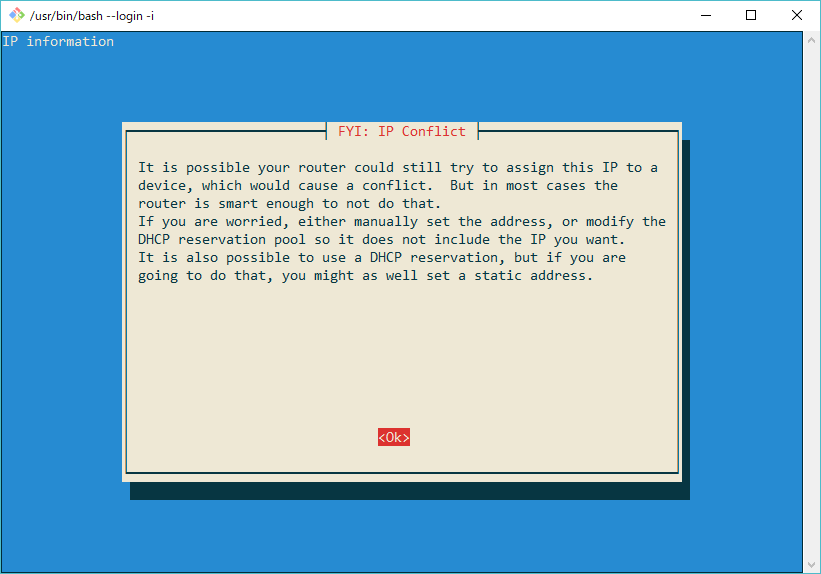
DHCP の IP プールだから DHCP サーバー側をうまいことやっといてね。
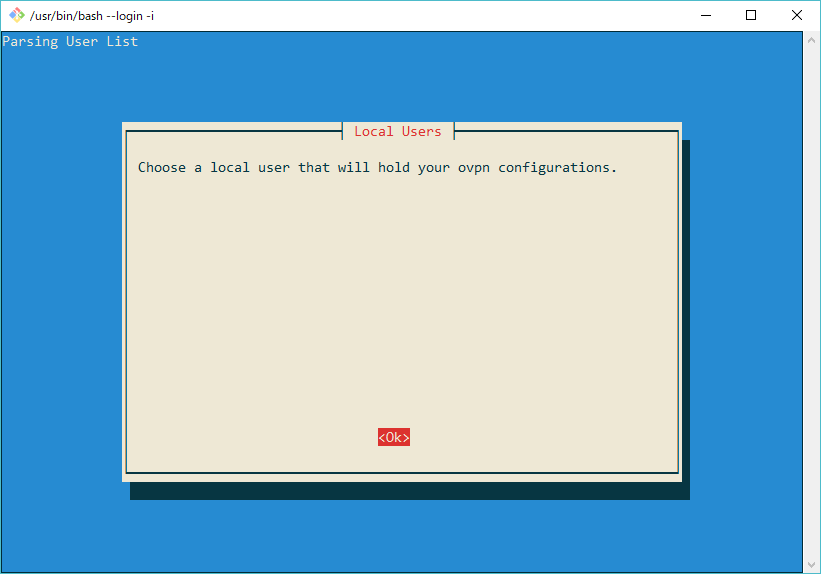
OpenVPN 用のユーザー選んでね。
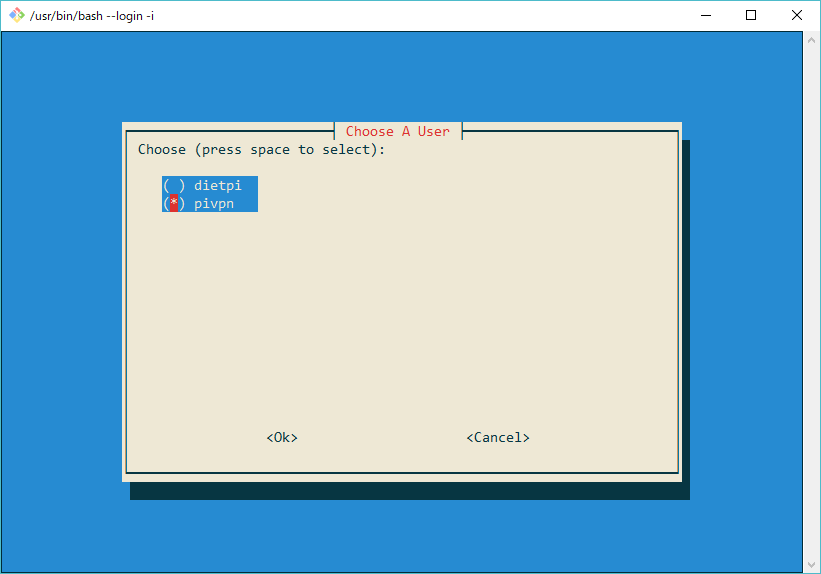
ここでは pivpn を選択することにしました。
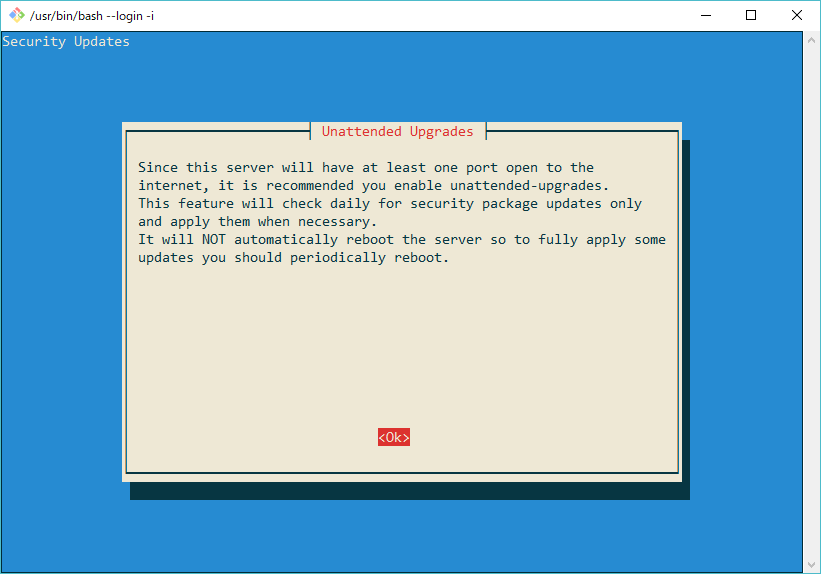
インターネットにポートを公開するサービスだから unattended-upgrades 機能を有効にすることを推奨しますよと、でも reboot は自分でやってね。
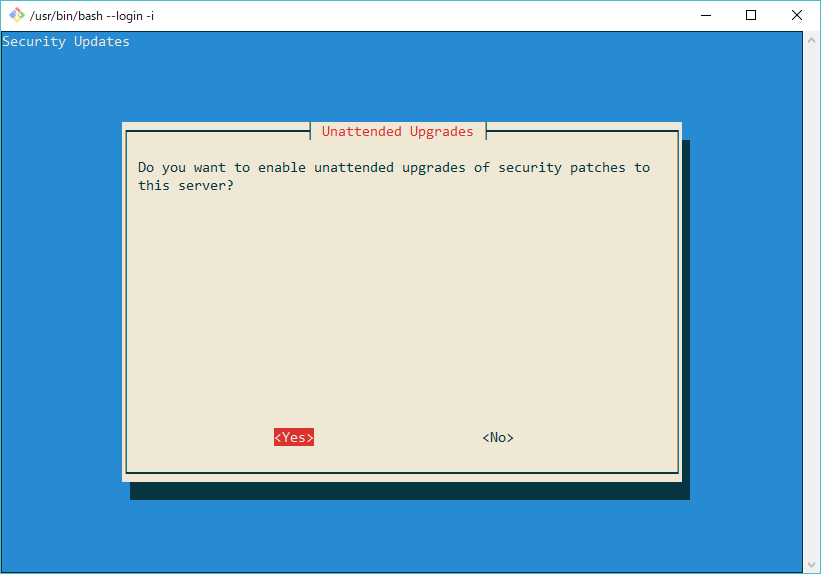
unattended upgrades を有効にしますか?はい。
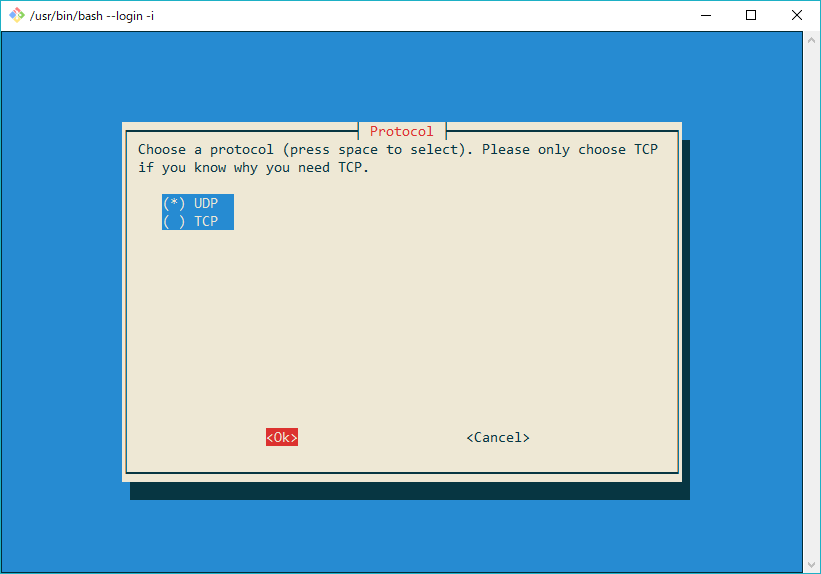
OpenVPN で使うポートを UDP にするか TCP にするかを選択する。UDP にします。
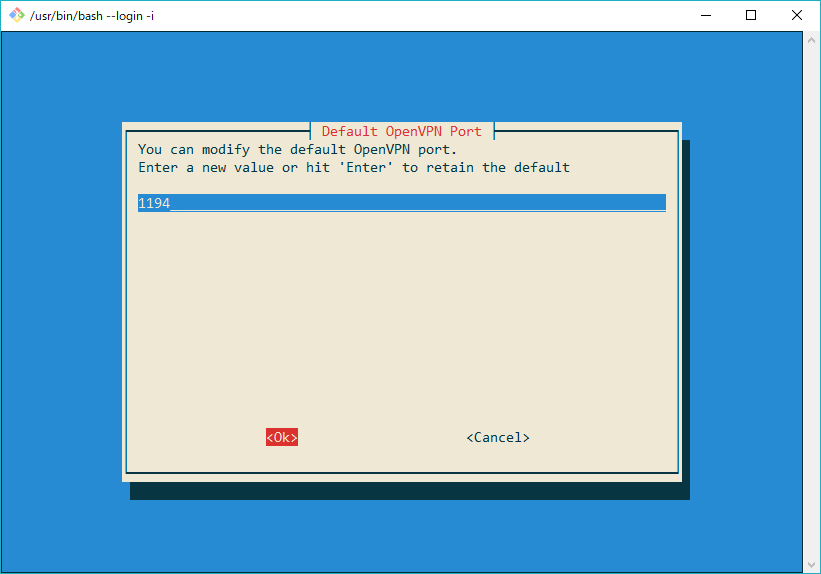
ポート番号はデフォルトの 1194 のままにする。
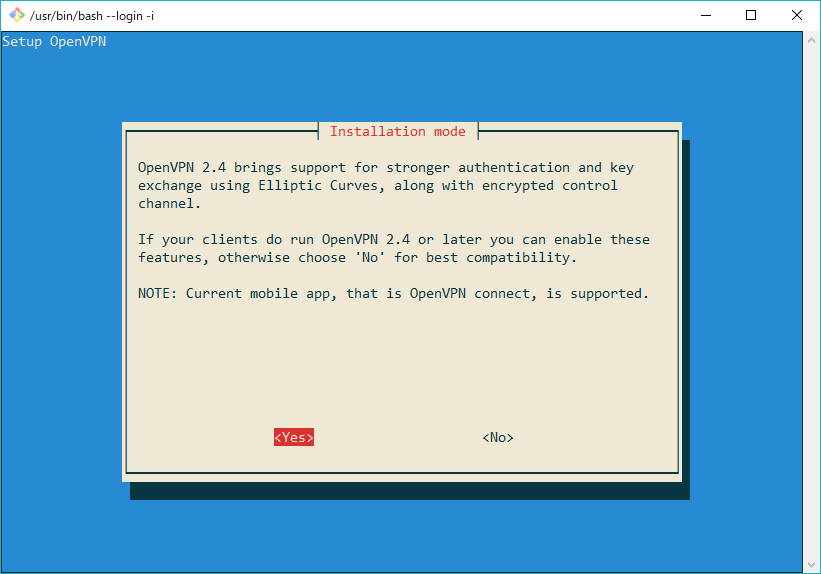
OpenVPN 2.4 からよりセキュアな認証と鍵交換をサポートしているので有効にしますか? モバイルアプリの OepnVPN Connect はサポートしてます。はい有効にします。
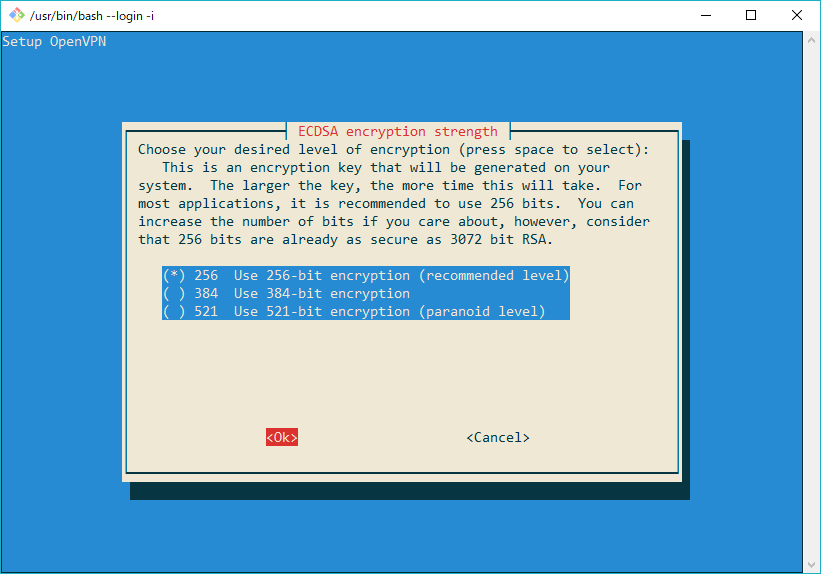
暗号の鍵長選択。うちのラズパイは貧弱なので 256 ビットを選択。
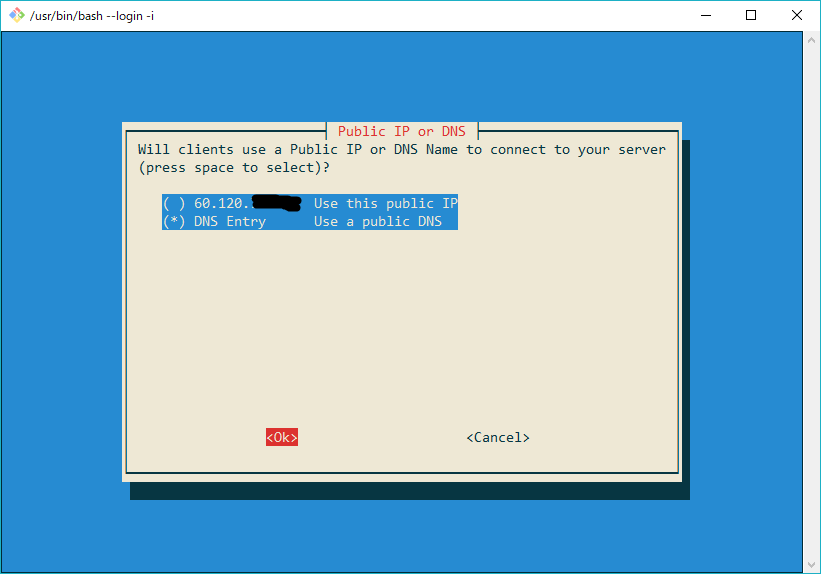
クライアントが接続する先のIPアドレス or DNS 名指定。我が家は固定IPアドレスではないので DNS を選択する。
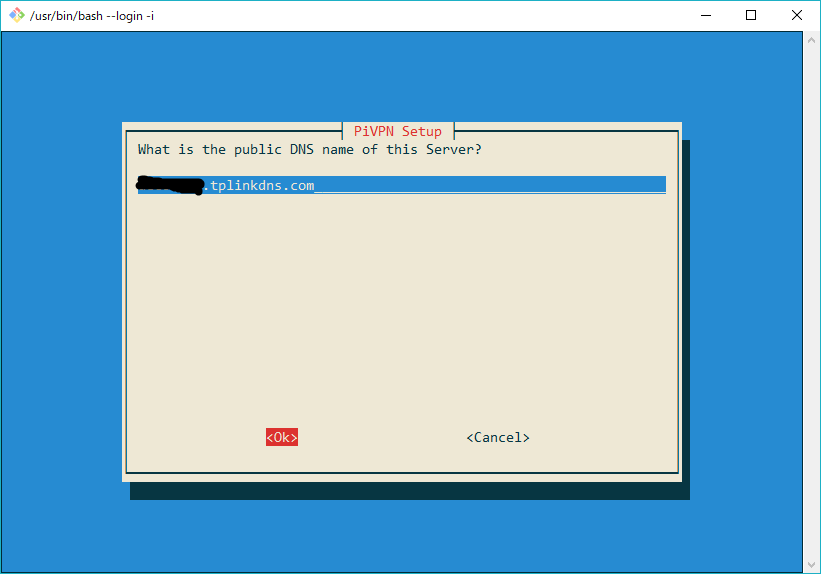
DNS 名指定。我が家の WiFi ルーターは TP-Link Deco M5 なので簡単に DDNS 設定できました。
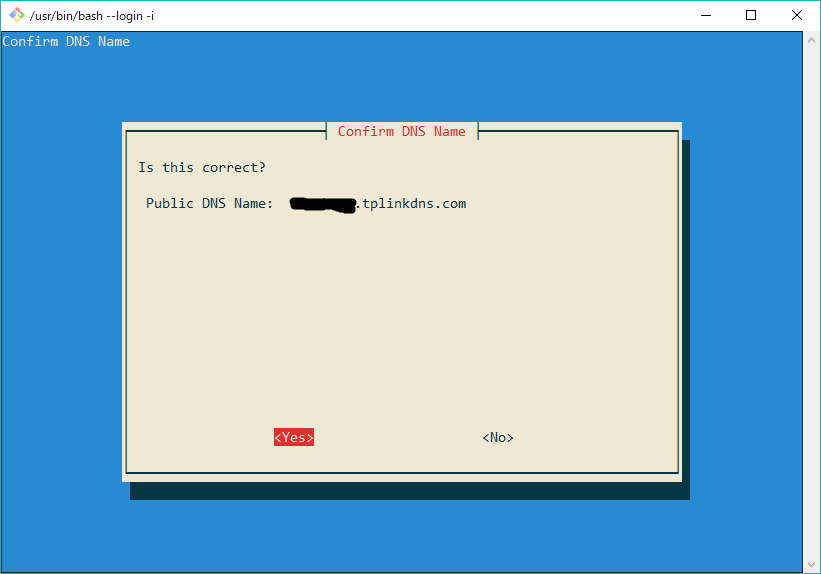
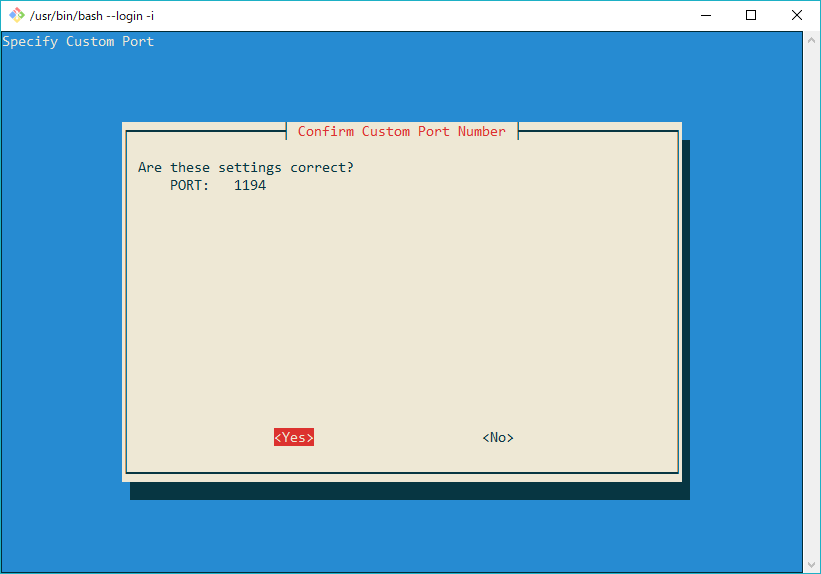
確認。
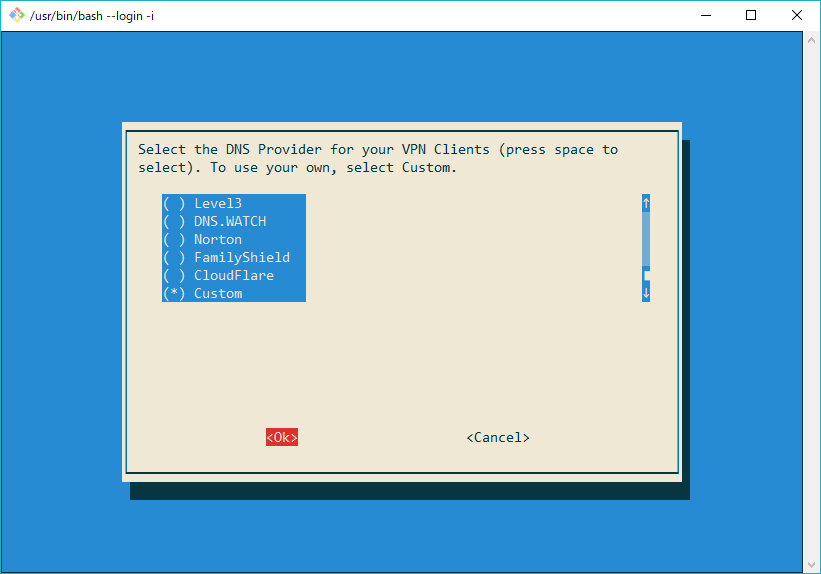
VPN クライアントに配る DNS サーバーの IP アドレスリストを指定します。有名所の Public DNS サーバーは選択肢から選べます。スクロールして見えなくなっていますが Google の 8.8.8.8 のやつも1番目にありました。VPN での接続先にあるサーバーを指定したりする場合は Custom を選択します。
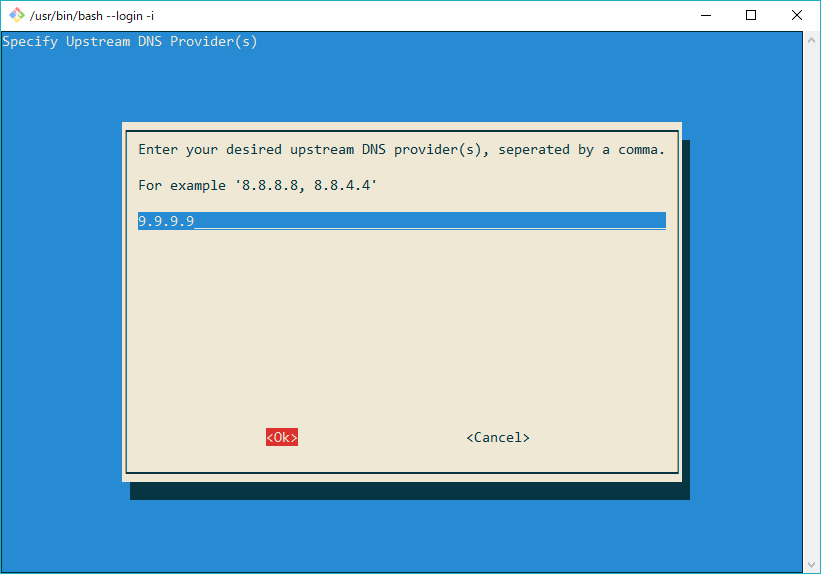
Quad9 (9.9.9.9) を指定してみました。
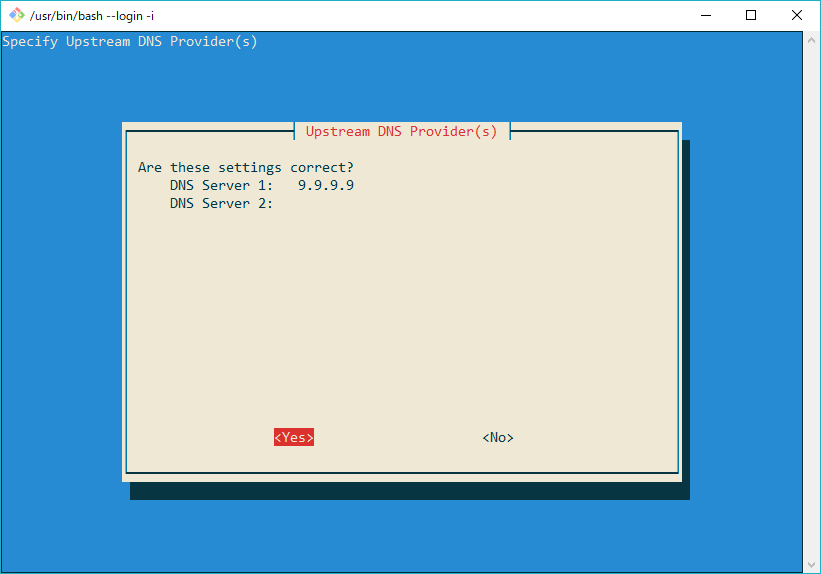
確認。
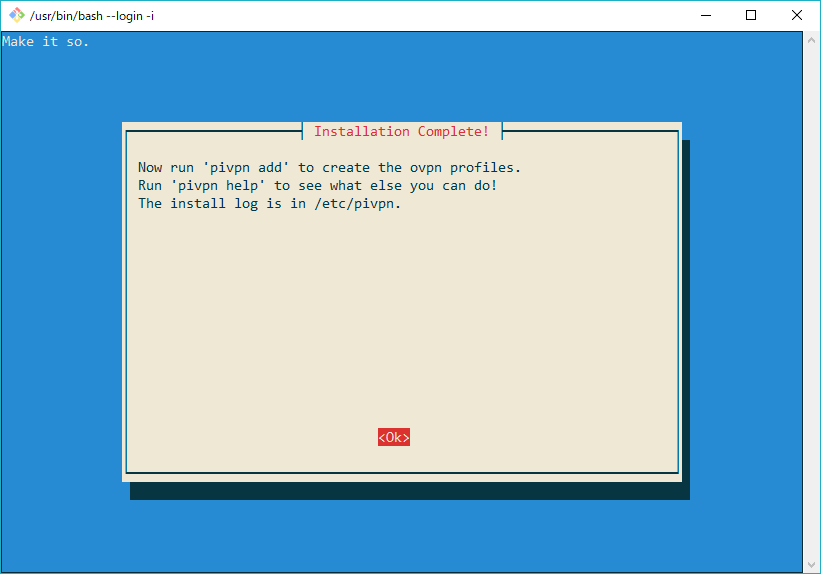
インストール完了。pivpn add でクライアント用プロファイル作ってね。ログは /etc/pivpn ディレクトリにあるよ。
インストール後は reboot をオススメします。reboot しますか?はい。
reboot します。
Ok で reboot するよ。
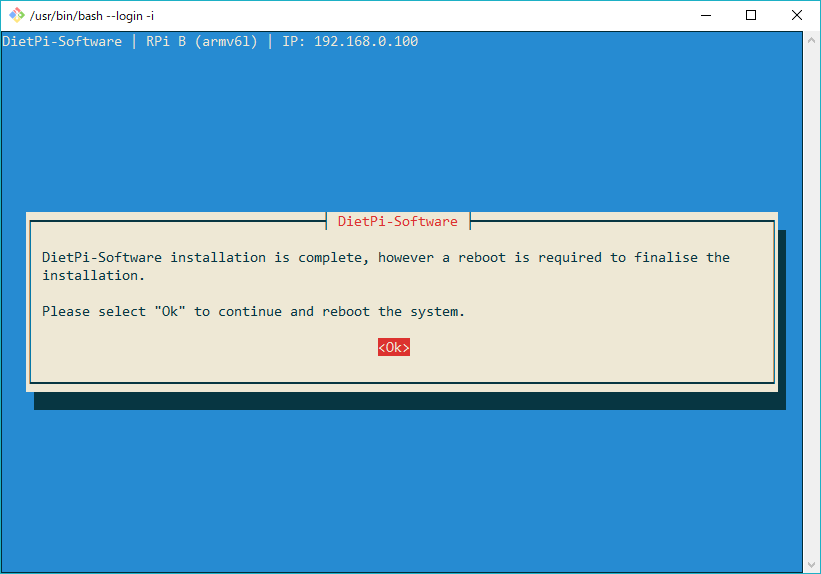
インストール完了しました。次はクライアント用プロファル作成です。
VPN クライアント用プロファイル作成
インストール中にも表示されていたように pivpn add コマンドで作成できます。
# pivpn -h
::: Control all PiVPN specific functions!
:::
::: Usage: pivpn <command> [option]
:::
::: Commands:
:::  -a, add [nopass]     Create a client ovpn profile, optional nopass
:::  -c, clients          List any connected clients to the server
:::  -d, debug            Start a debugging session if having trouble
:::  -l, list             List all valid and revoked certificates
:::  -r, revoke           Revoke a client ovpn profile
:::  -h, help             Show this help dialog
:::  -u, uninstall        Uninstall PiVPN from your system!
キーペアの秘密鍵をパスフレーズで保護しない場合は pivpn add nopass と実行します。 実行したら Enter a Name for the Client: と、クライアント名の入力を求められるので入力したら /home/pivpn/ovpns ディレクトリに クライアント名.ovpn ファイルが作成されます。このファイルをメールなどでスマホ (スマホじゃなくても良いけど) に送って OpenVPN Connect アプリを起動して読み込めば完了です。
あ、ポート転送忘れてた。
ルーターでのポート転送
我が家は Softbank のルーターの下にさらに WiFi ルーターの TP-Link Deco M5 が NAT しているのでそれぞれで 1194/udp を転送しました。
[Softbank Router] --> [Deco M5] --> [OpenVPN on DietPi]これで Microsoft Remote Desktop アプリを使えば Ctrl キーとかも使えます。やったネ!(Beta版もある)